Ever stood in front of your bathroom mirror, arms already burning, desperately trying to twist your hair into something cute, only to end up with a lopsided mess that screams “I gave up halfway”? I have been there more times than I can count. That frustrating mix of “braid-brain” (when your fingers suddenly forget how to function) and the impossible task of seeing the back of your own head makes self-braiding feel like a secret skill reserved for YouTube pros. But here’s the good news: anyone can learn how to do braids in their own hair, from the simplest three-strand style to a polished French braid.
This guide is your patient friend in article form. We will start with the basics to build your confidence and muscle memory, then move to more advanced techniques. Along the way, I will share real hacks for arm fatigue, messy sections, and those stubborn flyaways. Whether you are a busy mom needing a quick heatless style or a DIY beauty lover with long hair, these steps will help you create looks that last all day (or overnight for gorgeous waves). Grab your brush, set up your mirrors, and let’s get braiding.
Why Braiding Your Own Hair Changes Everything
Braids are more than just a cute hairstyle. They are a total game-changer for anyone who wants effortless, heat-free options that protect your strands from damage. No more reaching for the straightener every morning.
Think about it: a good braid keeps frizz at bay, works on second-day hair, and gives you that polished look without spending hours or dollars at a salon. For beginners, the best part is how quickly it becomes second nature. Once you nail the basics, you will start experimenting with variations like Dutch braids or fishtails.
Busy days call for styles that hold up through meetings, workouts, or school drop-offs. And if you have long hair with a few short layers, these techniques adapt beautifully with a few tweaks. Ready to dive in?
Getting Your Hair and Setup Ready for Success
Before you touch a single strand, prep work makes all the difference. Start with clean, detangled hair. If it is freshly washed, let it air-dry a bit or use a texturizing spray for grip. Second-day hair often braids best because natural oils help sections stay put.
A quick spritz of dry shampoo at the roots adds texture without weighing things down. For sleekness, run a pea-sized amount of styling cream through the lengths to tame flyaways from the start.
Now, tools. You need:
- A wide-tooth comb for gentle hair sectioning
- Small, clear hair ties (the no-snag kind)
- Bobby pins or clips to hold sections
- Two mirrors: one wall mirror and a handheld (or a tri-fold mirror for the ultimate setup)
Position yourself so the big mirror is in front and the handheld reflects the back of your head into it. This mirror trick is a lifesaver for seeing what you are doing. Practice in good lighting, and give yourself grace. Your first few tries might feel awkward, but that is how muscle memory develops.
The Foundation: Mastering the Three-Strand Braid
This is where every braider starts, and it is the perfect way to build confidence. The three-strand technique is simple once you get the rhythm: right over middle, left over middle, repeat.
Step 1: Section Your Hair
Brush everything back or to one side if you prefer a side braid. Divide your hair into three equal parts at the nape of your neck. Hold the left section in your left hand, the right in your right, and the middle dangling free.
Step 2: Master Finger Placement
This is key for control. Pinch the left section between your left thumb and index finger. Do the same with the right. Your middle finger on each hand helps guide the crossover. Keep sections taut but not too tight. Even hair tension prevents lumps.
Step 3: Start Braiding
Cross the right section over the middle (now the new middle is what was right). Then cross the left over the new middle. Keep alternating. As you go, rotate your hands slightly to keep the braid tight against your head.
Step 4: Secure and Finish
When you reach the ends, tie it off with a hair tie. Gently tug the sides of the braid to loosen it for a fuller, lived-in look.
Pro tip: If your arms tire, rest them on a counter or switch to braiding over your shoulder. With practice, this basic braid takes under five minutes.
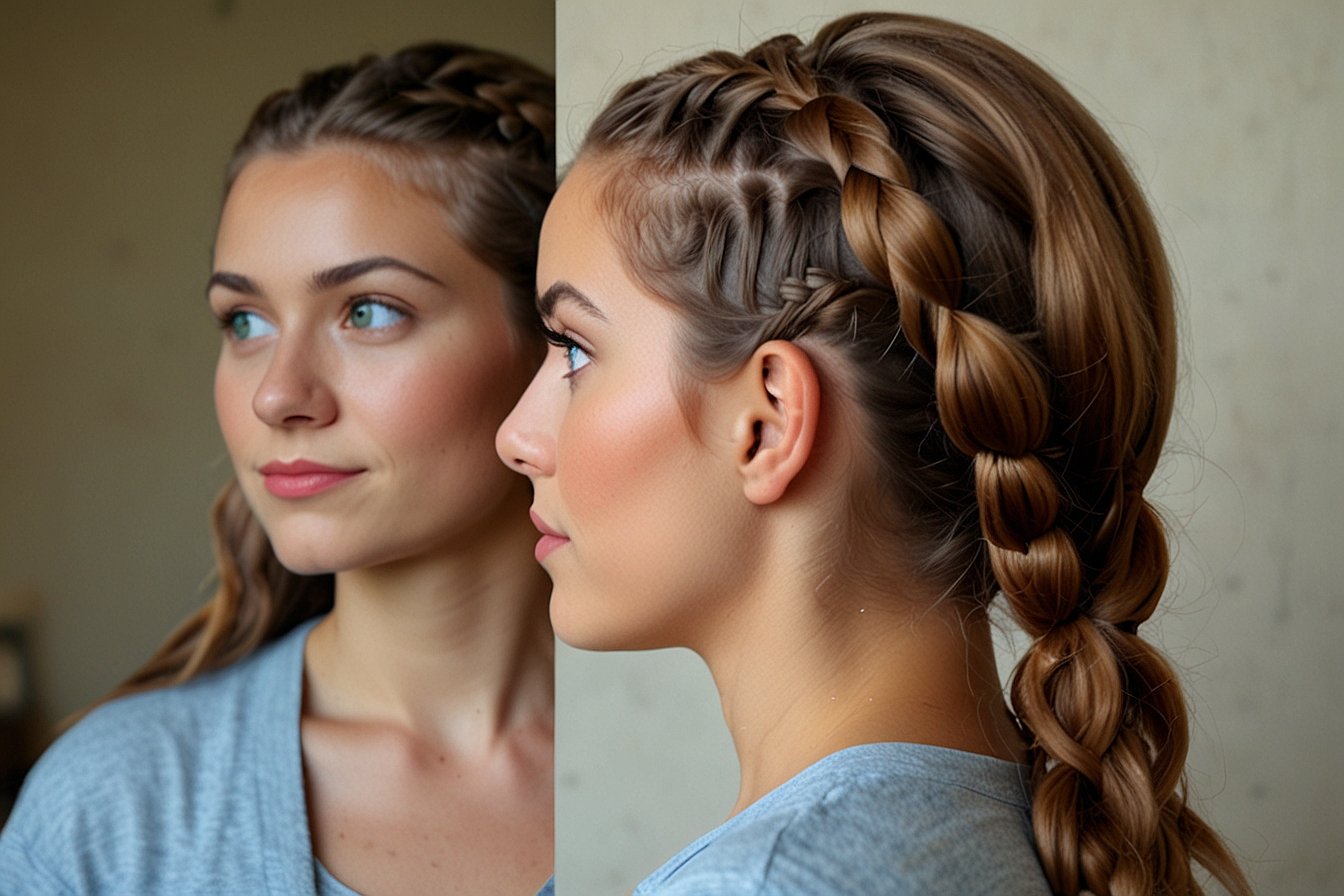
Level Up: How to Do a French Braid in Your Own Hair
Once the three-strand feels easy, the French braid is your next milestone. It starts at the crown and incorporates hair as you go down, creating that beautiful, woven effect.
The main difference from a basic braid? You add small pieces from the sides with each crossover.
Step 1: Create Your Starting Sections
Part your hair in the middle or slightly off-center for a side French. At the crown, gather a small triangle of hair and divide it into three sections.
Step 2: Begin the Braid with Additions
Cross the right over the middle. Now, here is the magic: take a small strand from the right side of your head (about the width of a pencil) and add it to the right section before crossing it over the middle.
Repeat on the left: add a strand from the left side, then cross over.
Keep the added pieces small and consistent for a neat look.
Step 3: Work Your Way Down with the Mirror
This is where the two-mirror setup shines. Tilt your head forward slightly if needed, but keep checking the back. As you braid lower, the sections get thicker naturally.
If you have short layers, tuck them in with bobby pins as you go or add them gradually to avoid bumps.
Step 4: Transition to a Regular Braid and Secure
When you run out of hair to add (usually at the nape), finish with a basic three-strand. Secure with a hair tie and pancake the braid by pulling sections gently outward for volume.
Many beginners find French braids easier on damp hair with a bit of styling cream for hold. It might take a few attempts to get the hand coordination, but trust me, the “aha” moment is worth it.
Dutch Braids: The Bold, Raised Sister to the French
If you love a braid that stands out, try a Dutch braid. It is essentially a French braid but inverted: instead of crossing over the middle, you cross under. This makes the braid pop off the head like a 3D accent.
The steps mirror the French almost exactly, just reverse the crossover direction. Start the same way at the crown, but when you add hair, cross the outer sections under the middle one.
Dutch braids work beautifully for thick hair or when you want something edgy. They are also great for short layers because the raised style hides any unevenness.
The Stunning Fishtail Braid: Surprisingly Easy for Self-Styling
Fishtails look intricate but are beginner-friendly once you try. They use only two main sections instead of three.
Step 1: Divide into Two
Split your hair down the middle into two equal parts.
Step 2: The Small-Piece Cross
Take a thin strand from the outer edge of the right section. Cross it over to the left section and combine.
Then, take a thin strand from the outer left and cross it to the right. Repeat, alternating sides. The smaller the pieces, the more detailed the fishtail.
Step 3: Finish Strong
Tie it off low. Loosen the braid for a boho vibe.
Fishtails shine on textured hair. Use texturizing spray beforehand for better grip and separation.
Overcoming the Real Struggles: Back-of-Head Braids and Arm Fatigue
Let us be honest. Braiding the back of your head is the biggest hurdle in learning how to do braids in your own hair. The mirror setup is your best friend here. Place a full-length mirror behind you and use a handheld to see the reflection. Some swear by sitting on the floor with a phone camera on selfie mode, but mirrors give the clearest view.
Arm fatigue is real too. Take mini breaks every few minutes. Shake out your hands, roll your shoulders, and breathe. If one arm tires, try switching your dominant hand midway (it gets easier with muscle memory).
For messy sections or short layers, clip away stray pieces as you go. If tension feels uneven, undo a bit and restart. No one sees your practice runs.
Pro Tips for Flawless Braids Every Single Time
- Even hair tension: Keep a light, consistent pull. Too tight causes headaches; too loose falls apart.
- Product power: Dry shampoo for grip on clean hair. Styling cream on ends prevents frizz.
- Overnight magic: Braid damp hair loosely before bed. Wake up to beachy waves. Spritz with texturizing spray in the morning.
- Layer hacks: With short layers, start braids lower or use pins to secure flyaways.
- Practice hack: Do a basic braid on a wig or friend first to feel the motions without the mirror struggle.
These little things separate good braids from great ones.
Creative Ways to Style and Wear Your Braids
Once you have the skills, the fun begins. A single French braid down the back is perfect for work. Two Dutch braids feel sporty and cute for weekends.
For date night, try a fishtail pulled to one side. Or combine: a basic braid with a few face-framing pieces left out.
Heatless overnight styles are a busy person’s dream. Braid, sleep, undo, and tousle. Add a scarf or headband for extra flair.
You Have Got This: Start Braiding Today
Learning how to do braids in your own hair opens up a world of easy, beautiful styles that fit your life. From the basic three-strand that takes minutes to a French braid that looks salon-fresh, every step builds your confidence.
Remember, those early attempts with tired arms and wonky sections are just part of the journey. Keep practicing, use those mirrors, and celebrate the small wins. Soon, you will be the one sharing tips with friends.
Grab your hair ties and give it a go this weekend. Your future self (and your arms) will thank you.
You May Also Like: 7 Effortless Dry Hairstyles for Salon Looks